
In today's post, I want to talk about something simple yet incredibly important. There are several options when it comes to car maintenance, and the overall cost depends entirely on how much you are willing to spend. If you cannot find the time to look after your vehicle, you can always turn to a private mechanic or a service center. However, choosing a service center means the repair and maintenance costs will be quite high, and even a private mechanic is not cheap these days. On the other hand, taking care of tasks that you can easily manage over the weekend in your backyard or a friend's garage is definitely worth the effort. Today, we are going to discuss exactly that—a simple yet vital topic: the car's cooling system, antifreeze, and how to replace it at home quickly and easily.
Specifically, today we will be doing this on a 2005 Subaru Legacy, but the principle is practically the same for almost all cars, and on some, it is even easier. For example, a Forester of the same generation often has a drain plug right on the radiator, allowing us to complete this task smoothly and without any hassle. Many people might not know this, but antifreeze has a limited lifespan, just like engine oil, brake pads, or transmission fluid.
Even though we live in the era of electric vehicle development, this topic remains highly relevant. I should also note that the aforementioned EVs have cooling fluid as well. Of course, this fluid does not serve an internal combustion engine since electric vehicles simply do not have one. However, EVs have batteries and electric motors that absolutely require cooling. In cold climates, the system warms up the engine or the battery, and in hot weather, it does the exact opposite by cooling them down.
Every car requires fluids with specific manufacturer approvals, viscosities, and compositions. That is why, before getting directly to work, it is essential to know exactly what fluid we need to prevent engine damage. It is also a common myth that matching the fluid color automatically means the antifreeze is the correct one for your car. For instance, on this specific vehicle, you can only use a phosphate-based antifreeze that is strictly silicate-free. This is a Japanese standard required for this generation of Subaru vehicles.
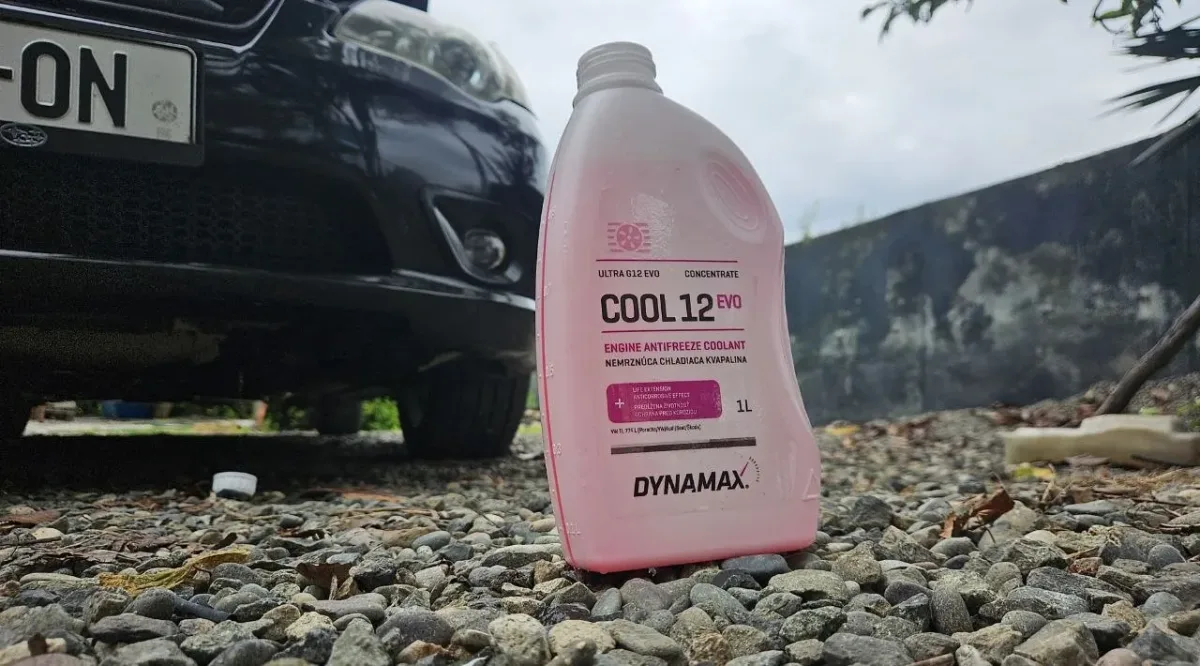
Subaru recommends its own genuine Subaru green or blue antifreeze, which is excellent and exactly what you need. However, if you cannot find it, it does not necessarily have to be the exact same color. Today, I will be using a European-made Dynamax Cool 12 Evo antifreeze. If you look closely, it has a pinkish tint, which has not been traditionally used in Subarus before, but its chemical composition is approved and safe for this car.
Before moving on to the process itself, I want to share another important point: if you have accidentally used an antifreeze that was not meant for your car, it is crucial to flush the system with distilled water before pouring in the correct one. This will flush out the old residue, allowing you to fill a completely clean system. However, if you are adding the same antifreeze and have been using the correct type all along, flushing is not a necessity. Be sure to check your car's manual and make sure you choose the right antifreeze; otherwise, you will damage the engine.
In my case, since the radiator does not have a drain plug, I have to pull off the radiator hose where it connects to the radiator. If we want to drain the system completely, we should do it from the thermostat side where it connects to the engine. To do this, we need to raise the side of the car where the hose is located, or, of course, put it on a lift. But since we are doing all this at home, it is rare to have a lift or a mechanic's pit in the garage to access the vehicle from underneath. Therefore, jacking it up is quite simple.
⚠️ Remember, after raising the vehicle, it is absolutely essential to place a jack stand under it. In case the jack fails, the jack stand will hold the car securely. Leave the weight resting on the jack stand.
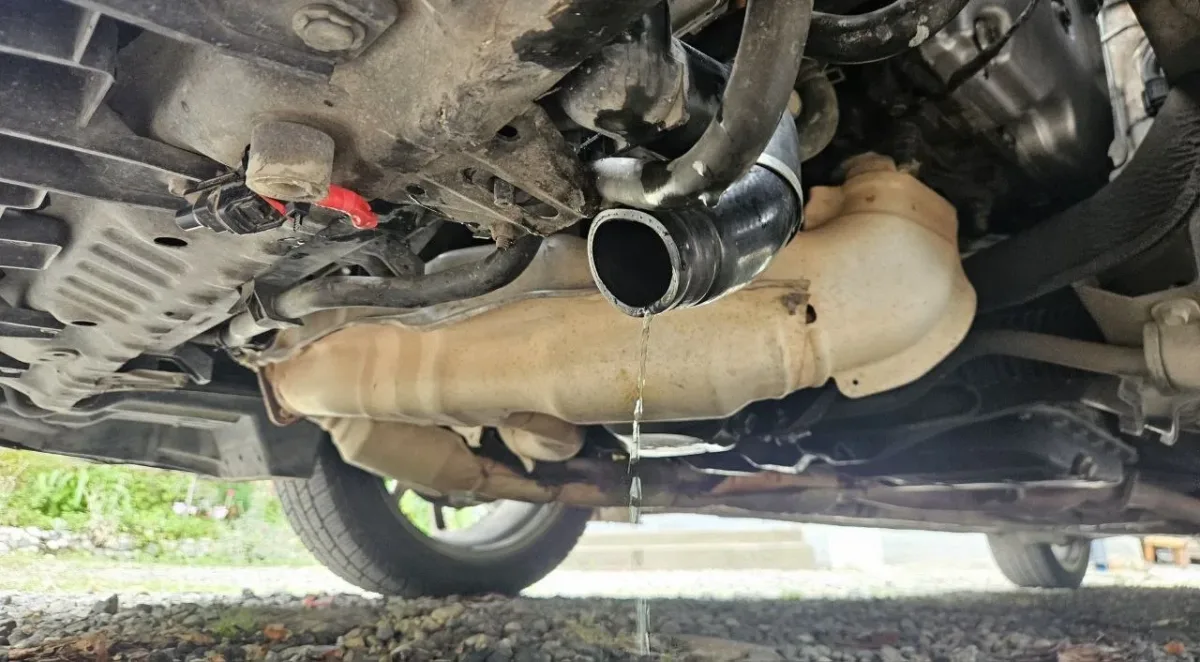
From underneath, we can remove the hose on the thermostat side by unscrewing two 10mm bolts, and then the fluid in the system will drain completely. We will collect the drained fluid and move it to a safe place. In many countries, spilling antifreeze is strictly forbidden by law, so it is best to collect it in a container and hand it over to a specialized recycling facility.
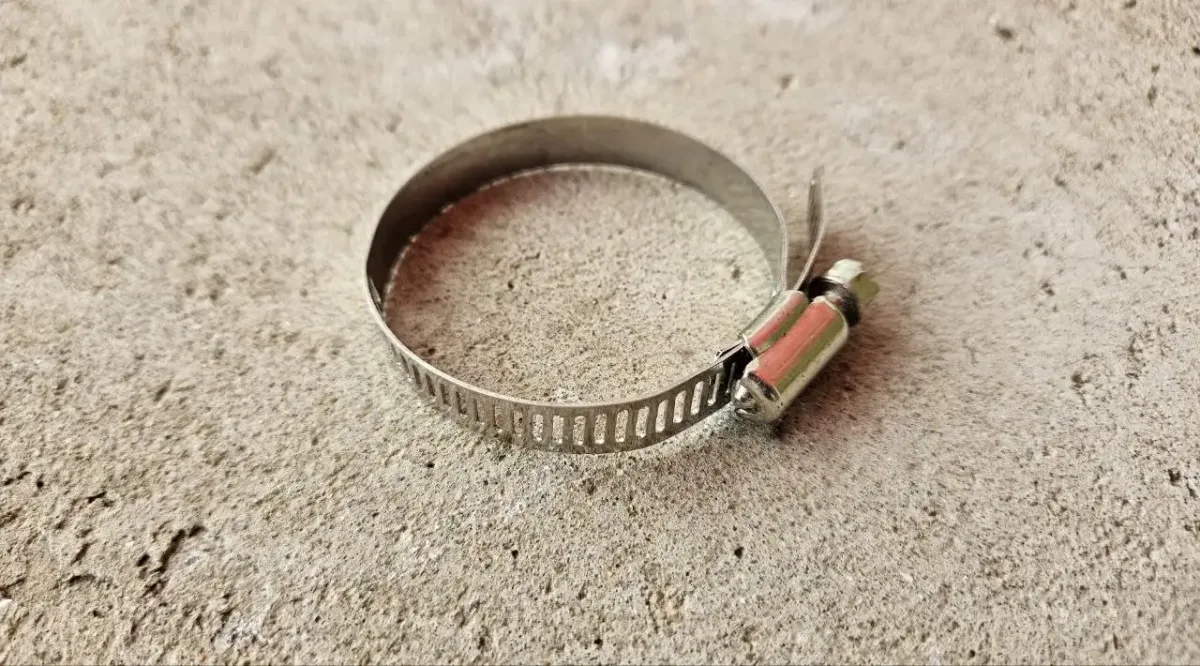
After draining the antifreeze, we will reconnect the hose exactly as it was. The original factory hose clamps are harder to remove, so I replaced them with the type of clamp you see in the photo. For extra safety, I am using two of them. This is a very reliable clamp, and its biggest advantage is that it is extremely easy to remove for the next fluid change.
Antifreeze is sold in two forms: pre-mixed or as a concentrate that needs to be diluted. If you buy the pre-mixed version, it does not need any additional distilled water; you pour it straight into the system. In an ideal scenario, concentrate should be diluted at a 50/50 ratio, and the specific details will be indicated on the manufacturer's label. I highly recommend diluting it 50/50 with distilled water because antifreeze also provides a lubricating effect for the cooling system components; therefore, using too much distilled water is not recommended.
The next crucial step is completely filling the system with antifreeze. As you know, when we drain the old coolant and pour in the new one, air pockets get trapped inside. This trapped air negatively affects the cooling system performance. Therefore, it is necessary to bleed (burp) the air out.
To do this, as soon as the radiator is full, we start the engine. You will notice that the fluid level drops and will need to be topped off. Additionally, we must turn the cabin heater to the maximum setting. This helps the fluid circulate through the entire heating core and system, pushing the trapped air out. The air will escape right through the open radiator cap neck.
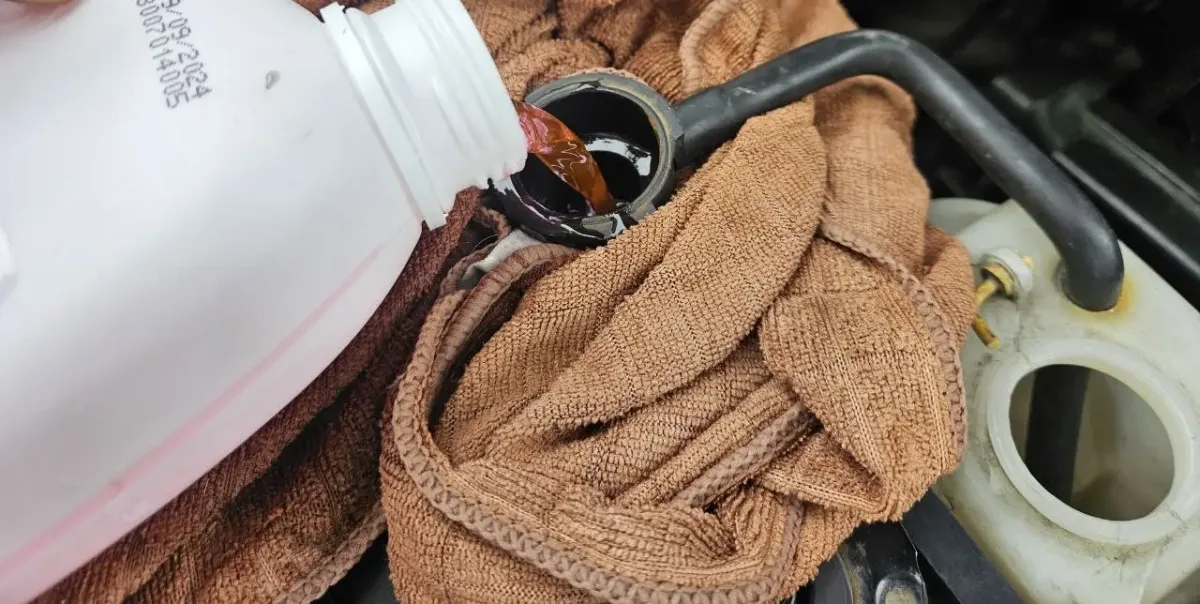
Let the engine run like this for about 5 to 7 minutes, and then tightly close the radiator cap. Keep in mind that during this bleeding process, the engine should not be allowed to overheat completely because the cap is off. Leave the car raised on the jack for now—the raised front end helps the fluid distribute completely and pushes air to the highest point. When topping off, wrap a cloth around the radiator neck; this will prevent any spilled drops from making a mess on your engine.